I was looking to set up an OpenVPN server at location to be able to access that LAN remotely from any device. Looking at the configuration needed to set up OpenVPN with certificates and everything I figured there must be an easier way of doing this. And indeed there is!
It’s called Wireguard and is a new VPN protocol that is picking up popularity on the internet at the moment. Here I will write a short tutorial on how to set up the server and then connect to it with an Android phone.
I used a fresh install of Ubuntu LTS 18.04.3 and a Samsung Galaxy S10.
The server software and keys
First off we install the needed software on the server:
add-apt-repository ppa:wireguard/wireguard
apt-get update
apt-get install qrencode wireguard-dkms wireguard-tools linux-headers-$(uname -r)
Then we generate the server certificates:
umask 077
wg genkey | tee server_private_key | wg pubkey > server_public_key
Android app and keys
Download the “Wireguard” app from the Google Play store. At this point I didn’t find the app, and ended up using the very similar app “Viscerion” instead.
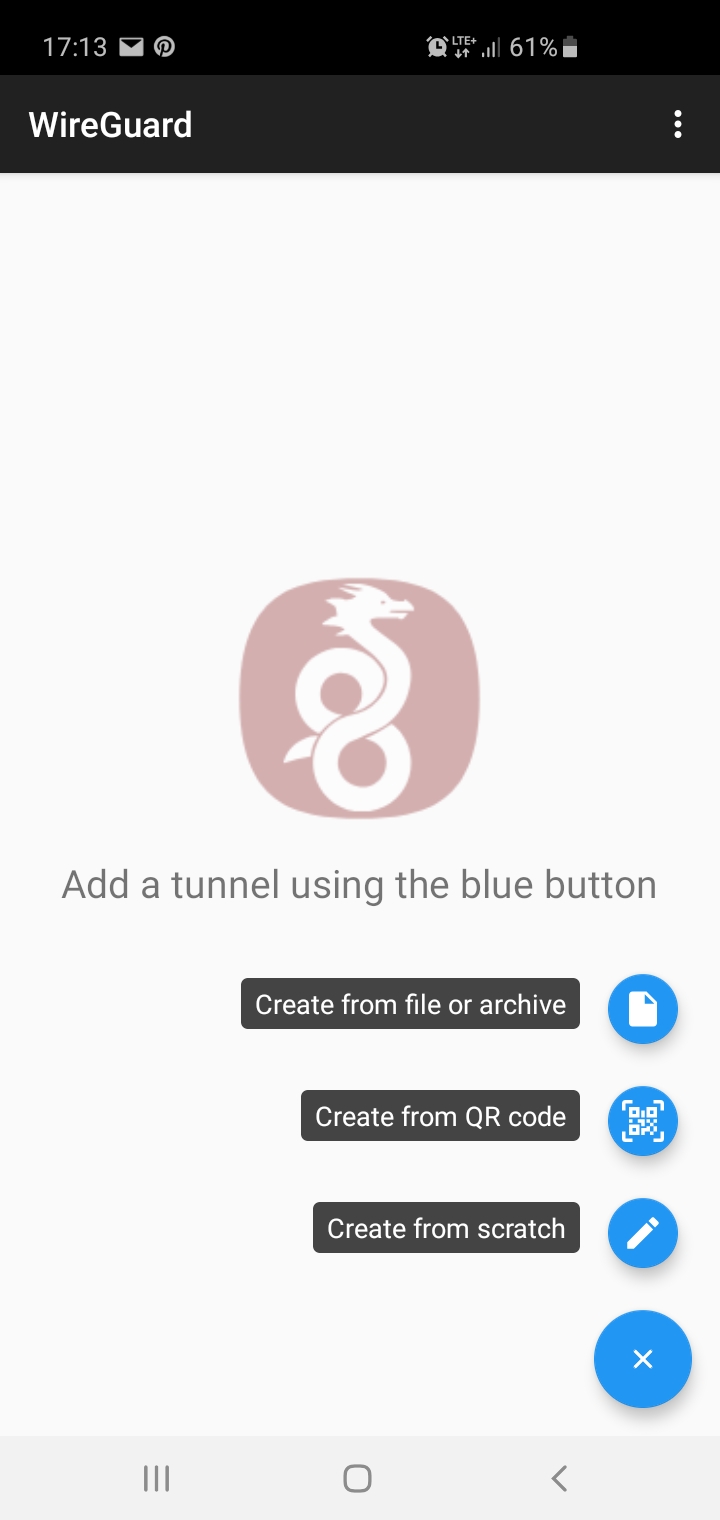
Open the app and press the + icon in the bottom right corner and choose “Create from scratch”.
Then generate a pair of keys by pressing “Generate”:
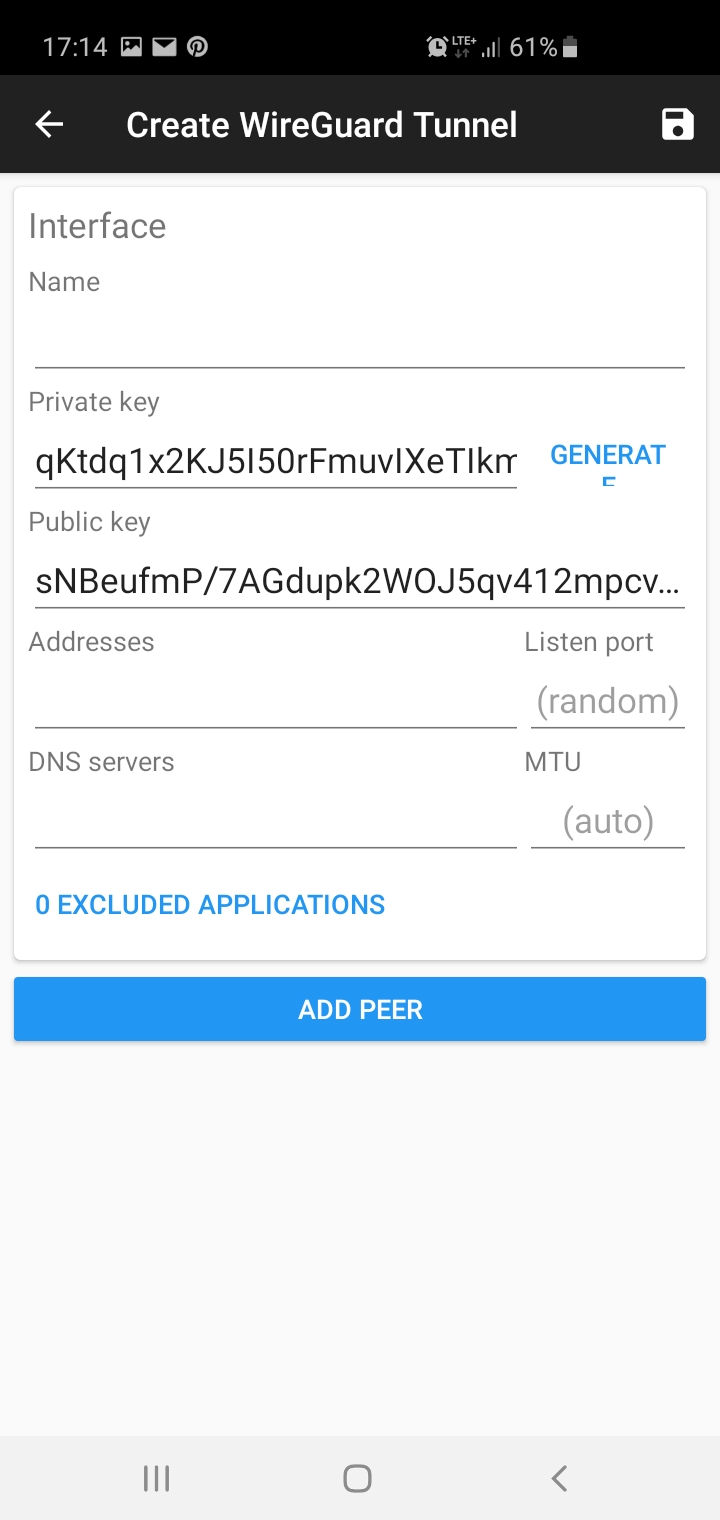
Save the keys to a text file so that you can copy them in the following steps. Click the back arrow to cancel the configuration for now.
The server configuration
Next, we create the server configuration file:
nano /etc/wireguard/wg0.conf
Paste the following content into this file:
[Interface]
 Address = 10.100.100.1/24
 SaveConfig = false
 PostUp = iptables -A FORWARD -i %i -j ACCEPT; iptables -A FORWARD -o %i -j ACCEPT; iptables -t nat -A POSTROUTING -o enp3s0 -j MASQUERADE
 PostDown = iptables -D FORWARD -i %i -j ACCEPT; iptables -D FORWARD -o %i -j ACCEPT; iptables -t nat -D POSTROUTING -o enp3s0 -j MASQUERADE
 ListenPort = 51820
 PrivateKey = <paste your SERVER PRIVATE key here>

 [Peer]
 PublicKey = <paste your ANDROID PUBLIC key here>
 AllowedIPs = 10.100.100.2/32
Make sure that your network interface is correct in the iptables commands and to paste the server private key under Interface/PrivateKey and the android public key under Peer/PublicKey. Save the file and exit.
Next, enable port forwarding:
nano /etc/sysctl.conf
Uncomment the line:
net.ipv4.ip_forward=1
Then reboot the server for this to take effect. When the server is back up and running, we set the permissions and start the server:
chown -v root:root /etc/wireguard/wg0.conf
chmod -v 600 /etc/wireguard/wg0.conf
wg-quick up wg0
systemctl enable wg-quick@wg0.service
Android configuration
Next, we use the keys you generated from the Android app:
nano config_file
Paste the following:
[Interface]
Address = 10.100.100.2/24
PrivateKey = <paste your ANDROID PRIVATE key here>
DNS = 8.8.8.8
[Peer]
PublicKey = <paste your SERVER PUBLIC key here>
AllowedIPs = 0.0.0.0/0, ::/0
Endpoint = <your servers external ip>:51820
So in this config file the flipped pair of keys are used. You need your server’s external IP address and you also need to port forward 51820 (UDP) to your server’s local IP in your router.
Next we generate a QR code for the Android app:
qrencode -t ansiutf8 < config_file
A QR code will appear in the command line and you can now use the app and scan it.
To try the connection, disconnect from your LAN on your phone and connect to the tunnel. If everything went well, you will now be connected to your server! You can confirm this by navigating to http://ifconfig.com and see if your external IP address is the same as your server’s.
You can also bring up a little status message of the connection on the server, how much data has been used, when the last handshake was etc by typing the command:
wg
I hope this tutorial helped someone. It was quite hard to make sense of it all at first. It can probably be done easier by not generating the QR code etc, but this is the way that worked for me.